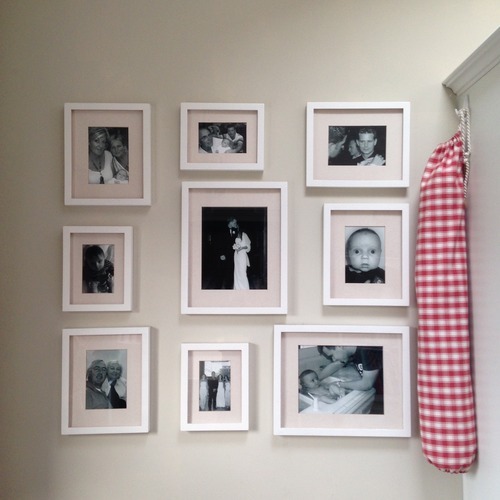
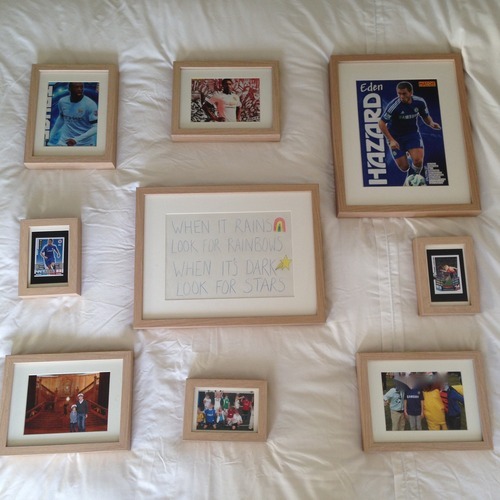
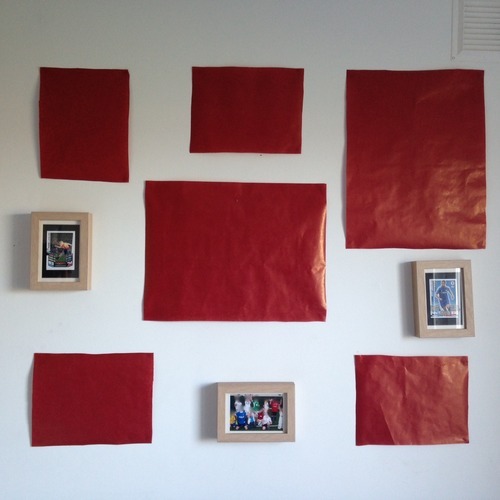
At the time, I bought an assortment of white frames in Marks & Spencer (these were the days before Ikea!), and laid them out, rearranging them to get the right look. I didn’t have a format in mind, I just winged it, so in the end I had to go back to M&S to buy a few more frames - to fill in the gaps!
I didn’t want a perfect arrangement. I hung some of the frames vertically and some horizontally. However, I am a little fixated with symmetry so I did square the whole collection off around the edges. I have to say though, I’ve seen some gorgeous gallery walls on Pinterest, and they are about as asymmetrical and haphazard as you can get. Frames are hung in random places with the main focus being on the overall composition and NOT on exact spacing and levelling, some of the pictures are stuck up with tape (no frame even) which look great.
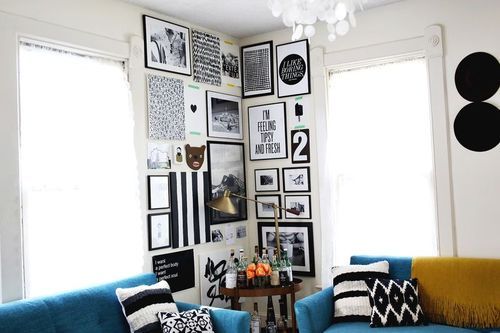
Image source: www.abeautifulmess.com
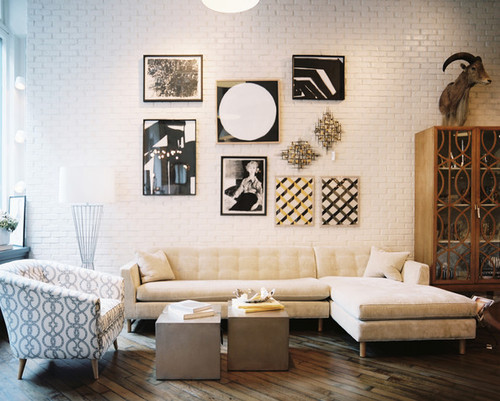
Image source: www.lonny.com
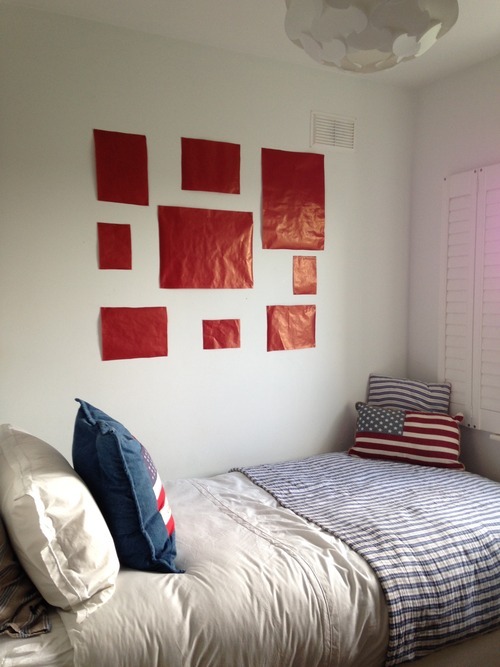
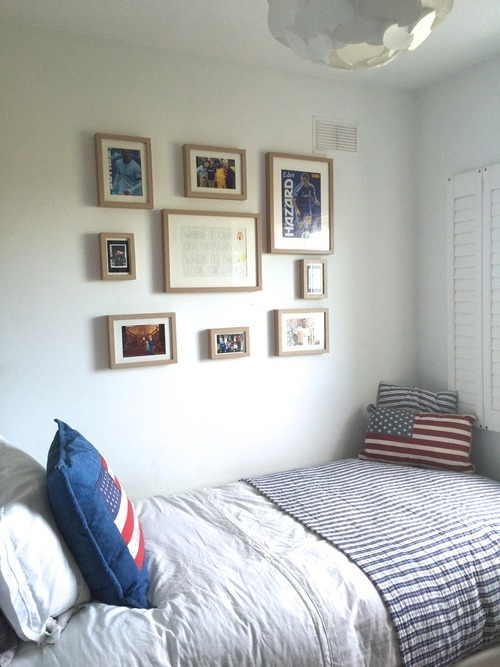
Over the last few weeks I’ve been putting the finishing touches on my son’s bedroom (finally), with wall panelling planned for around the bed and some more picture frames hung around the room. I wanted to squeeze in as many pictures as I could, however, being a box room (the smallest room in the house) he didn’t have a lot of wall space - this is where a gallery wall comes in handy! I could hang different sized frames around the room, and it wouldn’t look like a mess!
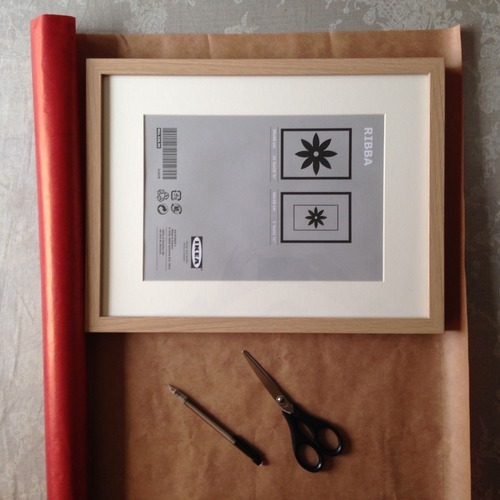
I wanted a New England style picture frame to match the panelling (thankfully he agreed that this was a good look!), and I’d seen some perfect white stained oak effect frames in Ikea that would fit the bill. This time, to make things easier, I just replicated the arrangement of the gallery wall in our kitchen.
Here’s how I hung the Gallery Wall in his room:
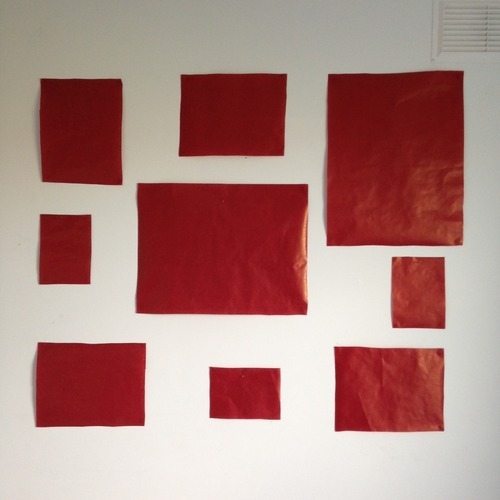
I started by cutting out templates of the frames with paper.
Next I arranged the frames the way I wanted them to look on his bedroom wall. I put the photos in the frames before I hung them so I wouldn’t have to take them all back off again. I’m not sure if I was being lazy or clever!
Then I stuck the paper templates on his bedroom wall with blu tack.
Next I located the position of the hook on the frame, and measured the top and the sides of the frame to where it was. Then I tansfered this measurement to the paper cut outs and hammered the pins through the paper at this mark.
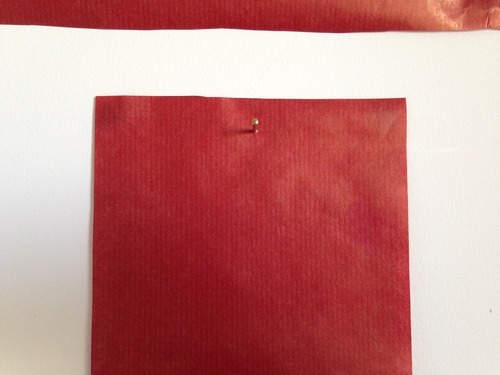
Finally, I just pulled off all the paper underneath the frames. I made sure I used paper that was lightweight so that the pins wouldn’t come off the wall when I pulled the paper away.
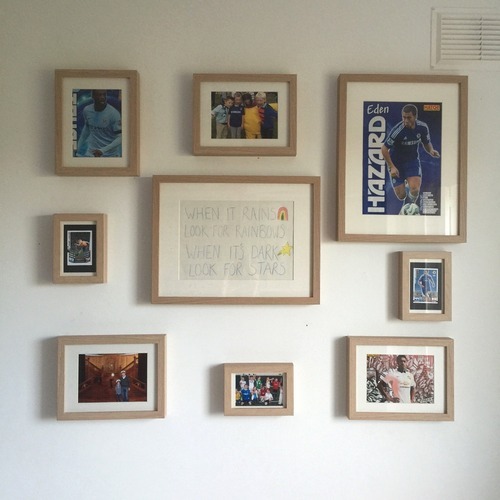
Et voila - a gallery wall.
I’ve still a few more frames to hang up on the adjacent wall along with this one…
And panelling around the bed that looks similar to this…
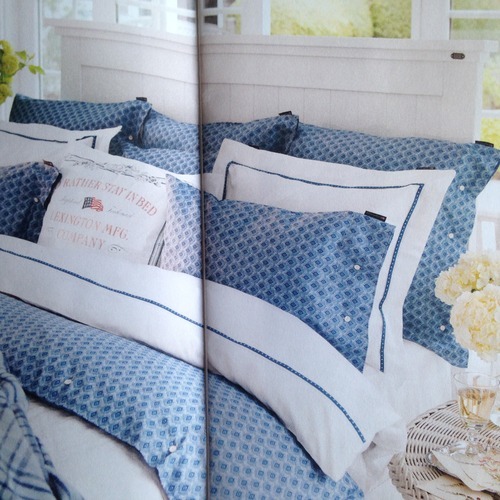
Image source: Lexington catalogue
But that’s a post for another day!
The more popular these games are, the more these are being created. You will never be in short. install videoder android
ReplyDeletesupply of the games. There will always be hundreds of games that you have not played. With so. gamekiller application
ReplyDeletePokemesh gives you a mind blowing gaming experienced these days pokemesh is trending everywhere because of its new and exciting features.
ReplyDeletePokemesh
the rooms are very well designed with beautiful interiors.
ReplyDeleteUSPS
USPS TRACKING NUMBER
USPS TRACKING DETAILS
Acer Customer Service like this page.
ReplyDeleteNice post Epson customer support
ReplyDeleteMicrosoft Technical Support
ReplyDeleteAmazing information you provide to me.
thanku
ReplyDeletethanku Bitdefender customer support
ReplyDeleteGreat post
ReplyDeletems office 365 installation support number
Yahoo Tech Support
ReplyDeletegreat
Amazing post.
ReplyDeleteMcafee Phone Support
wow…thank you for this awesome post. It really shows your immense knowledge and research on this topic. Please keep sharing. Tp link router customer support
ReplyDeleteThis comment has been removed by the author.
ReplyDelete