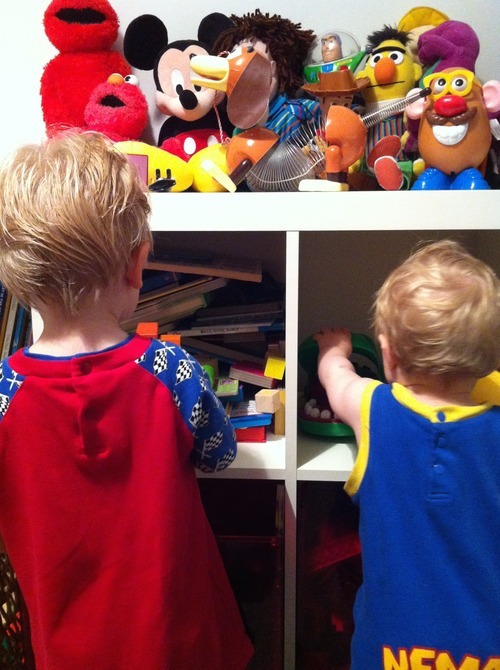
At the time, I had Callum (18 months) in a great routine, sleeping through the night, napping for 2 - 3 hours during the day like clockwork and an all round easy toddler. Then I had Alex (6 months), a little tougher.. not a great sleeper, still waking once or twice during the night and if he napped for more than an hour at a time during the day it was an almighty miracle!
So when the time came to move Alex from our bedroom into the same bedroom as his big baby brother I can honestly say I was dreading it. I presumed Alex was definitely going to wake up his big brother when he cried during the night, and Callum was going to disturb the little one twisting and turning.
Well, after all the sleepless nights filled with apprehension thinking about it (how ironic!), what do you think happened? From the first night, literally, it’s gone brilliantly! Alex is sleeping better than ever and Callum never wakes during the night when his little brother is up because of new teeth or hunger. Worrying about something like that really is like walking around with an umbrella up waiting for it to rain!
So, it was finally time for me to decorate their room as a ‘shared’ bedroom.

The walls were in fairly good order. I had painted them with a paint called 'White Tie’ by Farrow and Ball just before Callum was born about 2 years ago. The carpet was fine too. So that just left three things - the furniture, a couple of soft furnishing tweaks, and some decorations (pictures, bunting etc.) for the walls.
The boys bedroom faces north so I knew it was important to maximise the light there. I also knew that white, if used incorrectly can be quite a cold colour in a north facing room. I had done some research on the best type of white to use on the walls here and found that 'White Tie’ by Farrow and Ball had lovely warm tones through it that kept their room feeling snug but still bright and airy. To give an even greater illusion of space and light I decided to paint all the furniture white. I could now go ahead and use white elsewhere in the room as the warm toned wall colour made the room feel cosy and not stark.
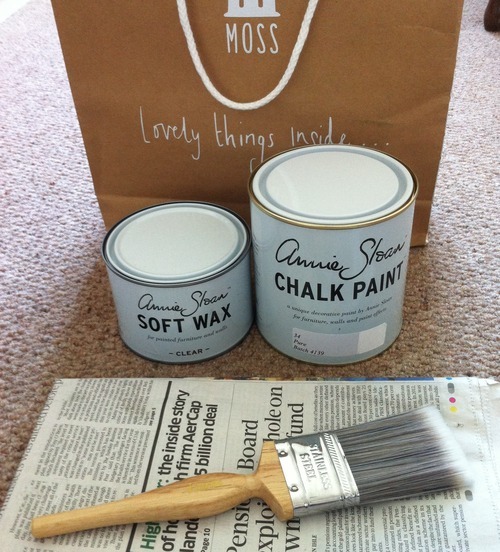
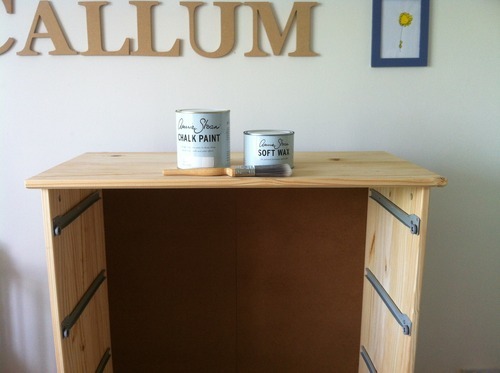
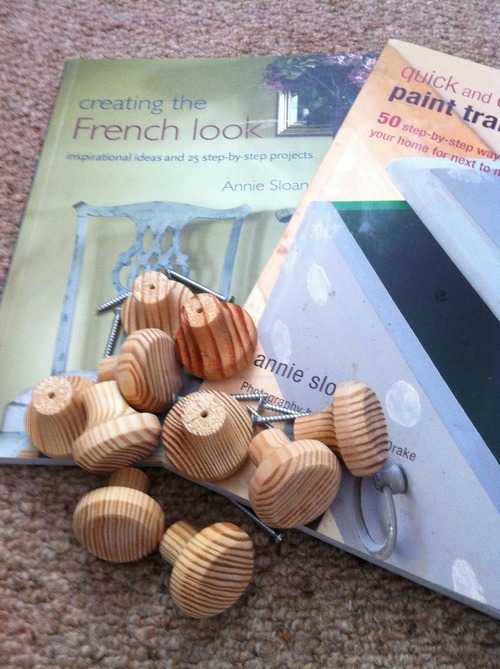
Firstly, changing the furniture… We had bought a reasonably priced chest of drawers from Ikea just after Callum arrived. I had every intention of getting different furniture the following year or so, but as time had flown and because the drawers were doing their job I decided a lick of paint to change the colour from a raw pine to white was all they really needed. I was also interested in using the Annie Sloan brand of chalk paint I had been hearing a lot about recently so what better opportunity to try it than a DIY drawer makeover!

I had also heard about a lovely little interiors shop in Dundrum Village called Moss Cottage that stocked the Annie Sloan range and also held classes demonstrating how to put different effects onto all sorts of things especially furniture. When the time came to buy the paint the girl from Moss Cottage was extremely helpful. She gave me some great instructions on how to correctly use it before I left with my bag of 'pure white’ paint and a tin of wax.
One of the advantages of using chalk paint is the fact that you don’t have to prime or sand anything first, you just paint it directly onto almost any surface. It’s supposed to be extremely easy to use and if you happen to make a mistake you can sand off the paint and start again.
Apart from that you just need to make sure the paint is thoroughly mixed, one of her suggestions was to turn the tin upside down for a couple of minutes before shaking it really well.
And even though you don’t need to sand or prime you do need to ensure the surface you’re painting is clean. I used a damp cloth and gave the chest of drawers a really good wipe down.

Next I got everything ready.
I removed the drawers…
…and the nobs.
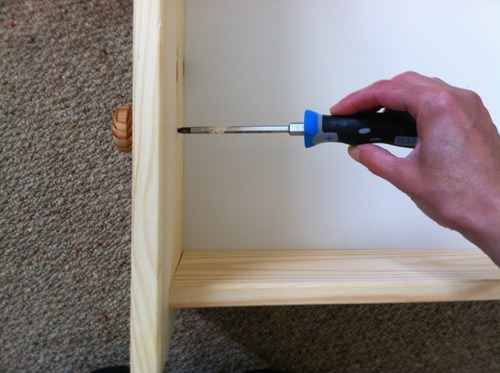
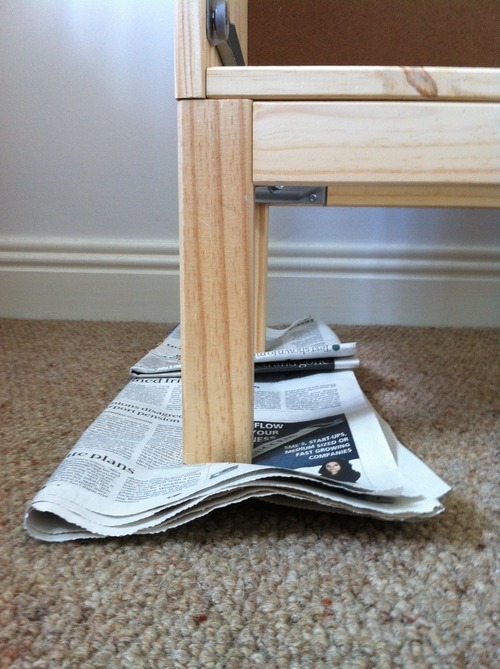
And put pieces of newspaper underneath the legs to protect the carpet.
Then it was time to paint!
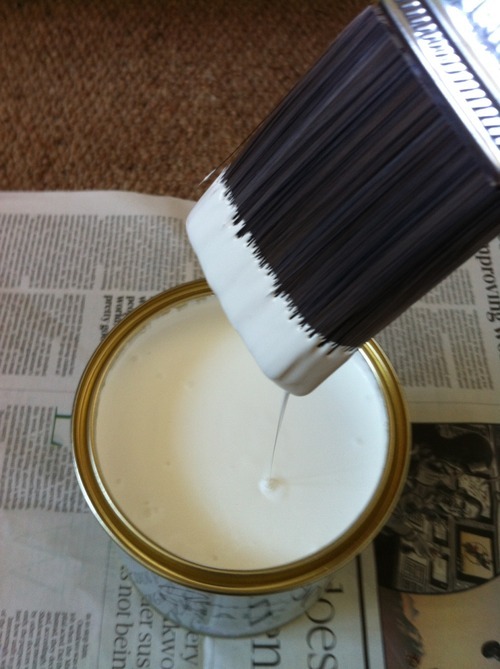
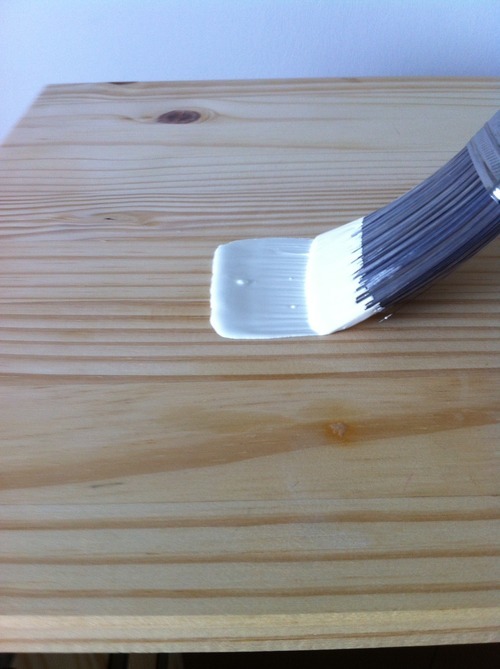
The chalk paint is gorgeous and goes on really thickly. I was told to start in small sections spreading out the paint and work my way around the drawers like that.
After the first coat was touch dry on the frame (it dries extremely quickly) I started on the drawers. I found the easiest way to do this was by putting them back in one by one.
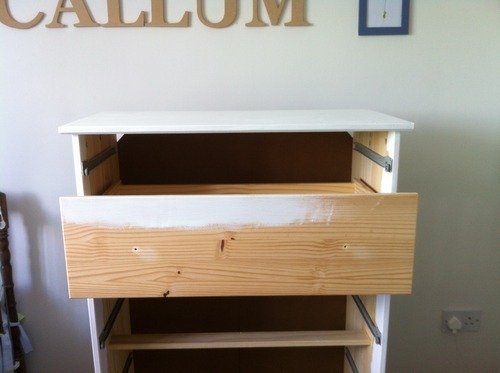
By the time I had painted on the first coat the room was already starting to look better, and brighter!

When the drawers were touch dry I filled the holes where the knobs had been with Pollyfilla. I was going to replace them with satin silver cup handles from Homebase, going down the middle instead.

When the Pollyfilla was dry and sanded smooth it was time for the second coat of paint.

This time I used a roller.

I decided to use a roller for the second coat because it took quite a while to apply the paint with a brush as it’s so thick. I also found because it dries quickly the brush drags the paint a bit if you go back over it.

It was so much quicker to apply and the result was a lot better for what I wanted as it left no brush marks. For some paint effects the brush marks add the the finish but I wanted a flat even surface.
After a light sanding to remove any bumps left by the brush it was time to apply the wax. I was told to wait about 24 hours after the chalk paint had dried to get a really good result.
The next day I rubbed on the wax using a clean lint free cloth, in my case a sheet!

After the wax was applied the chalky matt finish on the paint had a beautiful soft satin sheen that took the finished piece from 'great’ to 'brilliant’. It also protects the surface from water and marks. I applied two coats to get a really gorgeous result.
Lastly I put on the handle, I’d love to say 'handles’ (I needed 5), but the ones I wanted were out of stock in Homebase so I could only get my hands on one. I’m waiting for them to come back into stock so you’ll have to use your imagination I’m afraid!

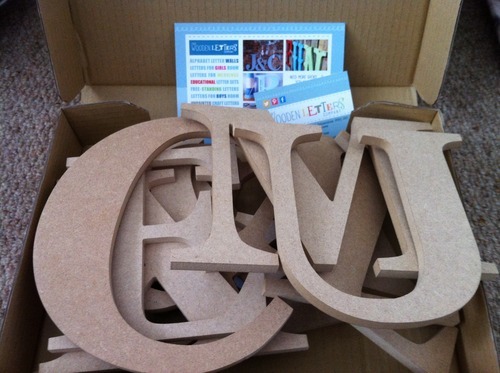
The boys shared bedroom is finally starting to come together. It needs a few more details but it’s almost there. I also used the Annie Sloan chalk paint to decorate wooden letters I bought online from The Wooden Letters Company with their names for the walls. Painting the letters, and the finished bedroom will be in the next post, Decorating the Babies Room: Part Two… To be continued!

No comments
Post a Comment